Overview of Landscape Lighting Timers
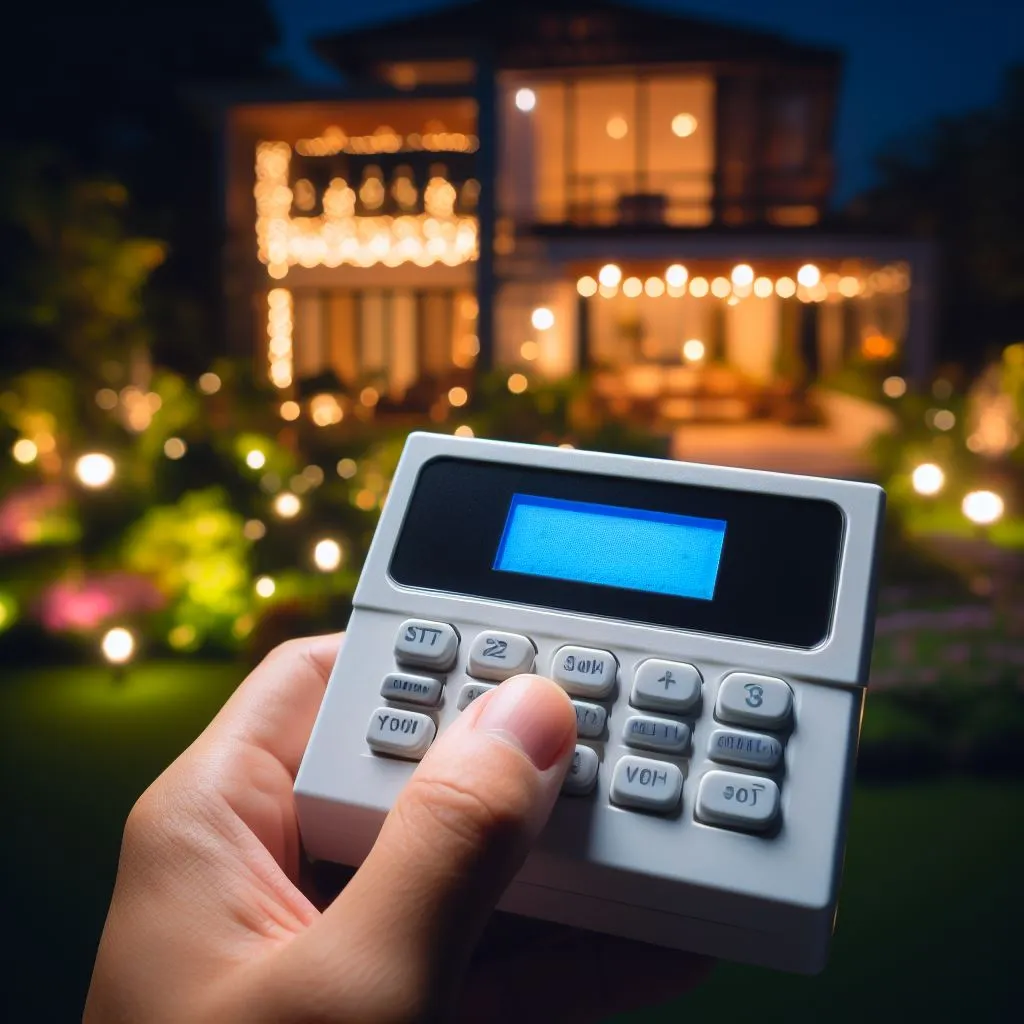
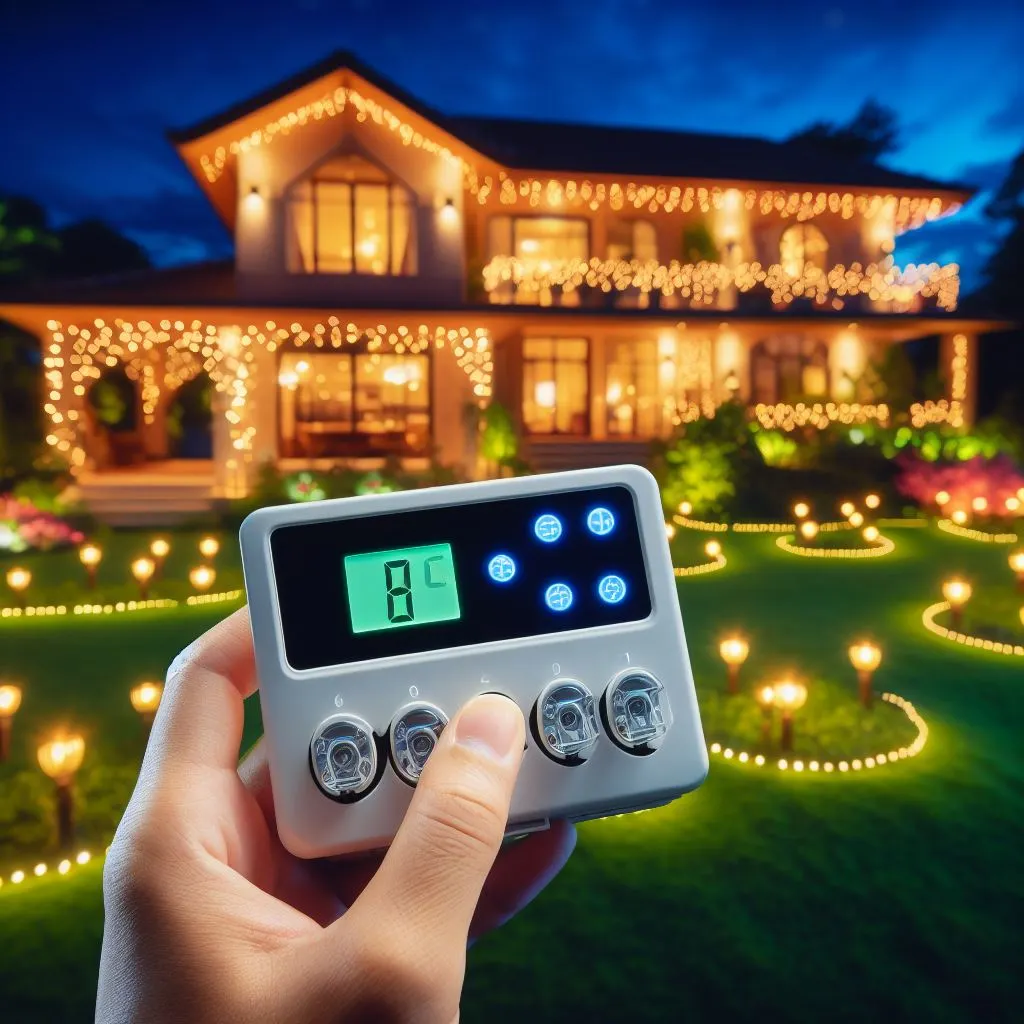
Landscape lighting timers allow you to control the switching on and off your exterior lights. Instead of manually flipping a switch, you can automate the process so your lights go on and off at predetermined times or even when it gets dark outside.
These timers provide convenience, energy savings, and security for your home or business. With a landscape lighting timer, you no longer have to worry about remembering to turn off outdoor lights after a specific time. This gives you the peace of mind that your property is secure and well-lit when needed.
You can also save energy costs by using a timer to manage your landscape lighting. Automated lighting control allows you to choose the correct light settings for the time of day.
This guide will provide an overview of how landscape lighting timers work, explain the benefits of using one, and provide tips on how to set up and operate a timer for outside lights. You’ll also learn about different types of timers and how to troubleshoot them should something go wrong.
Benefits of Using a Landscape Lighting Timer
Using a timer for your outdoor lights offers more convenience, security, and peace of mind. You don’t have to be home to switch the lights on or off with a timer. The timer will do it for you. This is especially useful if you are away from the house or have a busy lifestyle.
A landscape lighting timer can also create an illusion of occupancy in your home. This helps keep burglars and other unwelcome visitors away. Lights that turn on and off at different times can make it seem like someone is always home.
Furthermore, a timer for your outdoor lights can help conserve energy. You don’t have to worry about leaving the lights on too long or forgetting to switch them off.
A timer will ensure your lights are not running needlessly when no need is needed. This will reduce energy costs, saving you money in the long run.
Finally, a timer for your landscape lighting is great if you have forgetful family members. Friends, family, and housemates can easily forget to turn the lights on or off when needed. With a timer, everyone can enjoy the ease of automatically having the lights come on and off.
How to Set Up a Landscape Lighting Timer
Setting up a landscape lighting timer is easier! It will take a little while to get your lights set up and running, whether you are using an analogue or a digital timer.
Here are the basic steps for setting up a landscape lighting timer:
- Decide where you want to place the timer. It should be in a dry, protected area – preferably indoors.
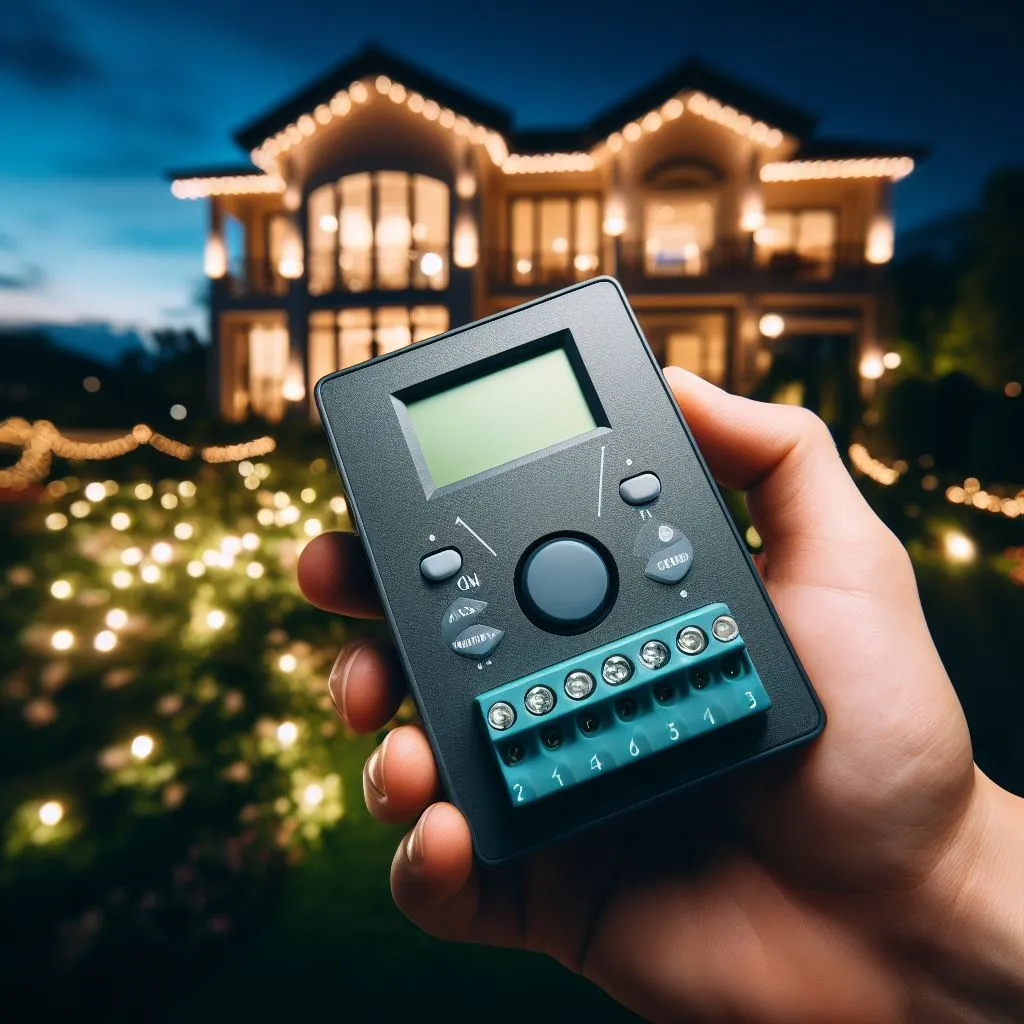
- Install the timer according to the manufacturer’s instructions. Most digital timers require a few wires to connect the timer to the power source.
- Configure the timer’s settings. This will include choosing the time of day when you want the lights to turn on and off.
- Test the timer. Ensure it works correctly by operating the lights and observing the timer.
- Turn the timer on and enjoy your landscape lighting!
That’s all there is to it! You should have no trouble setting up your landscape lighting timer by following these easy steps.
Different Types of Landscape Lighting Timers
Landscape lighting timers come in various forms, making it essential to select the right one for your home or other outdoor area. Here, we will discuss some of the different types available.
- Analog Timers: This timer runs on batteries and requires manual programming. They typically come with a few pre-programmed settings but are limited in their capability.
- Digital Timers: Digital timers are significantly more advanced than their analogue counterparts and can be programmed for multiple on/off cycles. These digital timers are often solar-powered and have more capabilities than analogue models, including automated lighting levels and dusk-dawn technology.
- Remote-Operated Timers: Remote-operated timers allow you to control your landscape lighting from a distance. A touch-screen panel or a remote control device can operate these systems. The advantage of this system is that you can turn your lights on or off while you are away from your property.
- Automatic Timers: Automatic timers are ideal for those who want the convenience of turning their landscape lighting on or off without manually setting the time. Depending on the model, they are programmed to cycle on and off at the exact times each day or week.
No matter what type of timer you choose, it’s crucial to understand how it works and how it can make your landscape lighting more efficient. Before selecting, you should also consider the long-term maintenance and replacement costs associated with each timer type.
Considerations when Choosing a Lighting Timer
Having a suitable timer can make a big difference in the overall effect of landscape lighting. There are several factors to consider when choosing a lighting timer, including installation requirements, features, and budget.
Installation requirements should be carefully considered when choosing a lighting timer. Depending on the existing wiring and outlets in your yard, you may need a timer compatible with specific electrical systems or types of outlets.
Additionally, many timers are designed for indoor or outdoor use only. Be sure to check this detail before making your purchase.
Features are another critical factor to consider. Timers have different options and capabilities, such as manual or digital controls, multiple timing settings, weatherproofing, and solar energy compatibility. It is a good idea to consider the features most benefit your landscape lighting system.
Finally, budget is an important consideration when shopping for a lighting timer. Timer prices vary greatly and can range from a few dollars to hundreds of dollars. Think carefully about what features are necessary for your system and how much you will spend.
No matter what type of lighting timer you choose, with careful consideration and thoughtful planning, you can create the perfect landscape lighting system for your home.
Troubleshooting Tips for Landscape Lighting Timers
When troubleshooting landscape lighting timers, it is essential to remember that any disruption in power or wiring can cause them to fail. If your landscape lighting timer is not working correctly, it is worth looking into the following troubleshooting tips.
Check Power Supply and Check Motion Sensors
The first thing to check when troubleshooting landscape lighting timers is whether they receive power. If there is no power, check to ensure the lights are properly plugged in. If everything is powered correctly, then it may be an issue with the motion sensors. Ensure the motion sensors still function properly by testing each with a flashlight.
Check Timer Settings
If the motion sensors work correctly, the timer settings are followed to check. Ensure the timer is set to the correct time and date and that all relevant settings are adjusted as required.
Additionally, if you notice that the lights do not turn on and off at the specified times, ensure that the timer has been programmed to switch on at this time.
Check Wiring and Connections
Any faults in the wiring can cause problems with the landscape lighting timer. Make sure all the cords and wires are correctly connected and secure.
Additionally, inspect the cables for any tears or damage that may have occurred over time. If any wires appear loose or damaged, replace them immediately.
Check Bulbs and Ballast
It is also possible that the bulbs or ballast of the lighting system need to be fixed, causing the landscape lighting timer not to work as intended.
Make sure all bulbs and ballasts are in good condition and working correctly. If any bulbs appear burned out, replace them with new ones.
Reset the Timer
If troubleshooting hasn’t identified any issues with the hardware, it may be necessary to reset the timer. Resetting the timer often fixes any software-related problems causing it to malfunction. Carefully follow the instructions mentioned in your user manual to reset the timer.
By following these steps, you should be able to diagnose and fix any issues causing your landscape lighting timer to malfunction. If further assistance is required, contact your local electrician, who can help you further.
Common Questions & Answers About Landscape Lighting Timers
When it comes to landscape lighting timers, there are a lot of questions that can come up. Getting the answers you need to ensure the timer setup and use are done correctly is essential.
- What is the best time for landscape lighting? Light timers should be set to turn on when the sun sets, or just before, so you can enjoy your outdoor space after dark. Set the timer to turn off the lights after enjoying the outdoors.
- Does a timer help reduce energy costs? Using a timer for your landscape lighting can help save energy costs. By setting your timer to turn on a few minutes before sunset and off a few hours later, you can ensure you are not using unnecessary electricity.
- Do all landscape lighting timers have the same features? No, different types of landscape lighting timers come with additional features. Digital timers offer more advanced features and better customization options, while analogue timers are usually more straightforward and provide basic features.
- What kind of wiring is needed for landscape lighting timers? Depending on the type of timer being used, the wiring may vary. For example, digital timers may require a neutral wire, while analogue timers may not. It is essential to consult the manufacturer’s instructions before attempting any wiring.
You can use landscape lighting timers to their full potential with the proper knowledge. Understanding how the timers work and what features to look for can help you make sure you have the correct timer for the job.
Installing and wiring Landscape Lighting Timers
Installing and wiring a landscape lighting timer is essential and may require professional attention, especially if your outdoor lighting system is complex.
To begin installation, you must turn off all power sources and disconnect the current wiring from the manual switch. You must locate the timer’s interior junction box, mount it securely to your wall, and connect the existing wiring to the timer.
It is important to note that timers come in various types and are designed for different applications. Ensure you get the correct kind of timer for your current wiring system. For example, mechanical timers typically require two-wire systems, while digital timers require three-wire systems.
Once you have the correct timer, you can begin connecting the wires. If you’d like additional help with the wiring, consult an electrician or lighting technician who can advise you on the best way to wire your lighting timer.
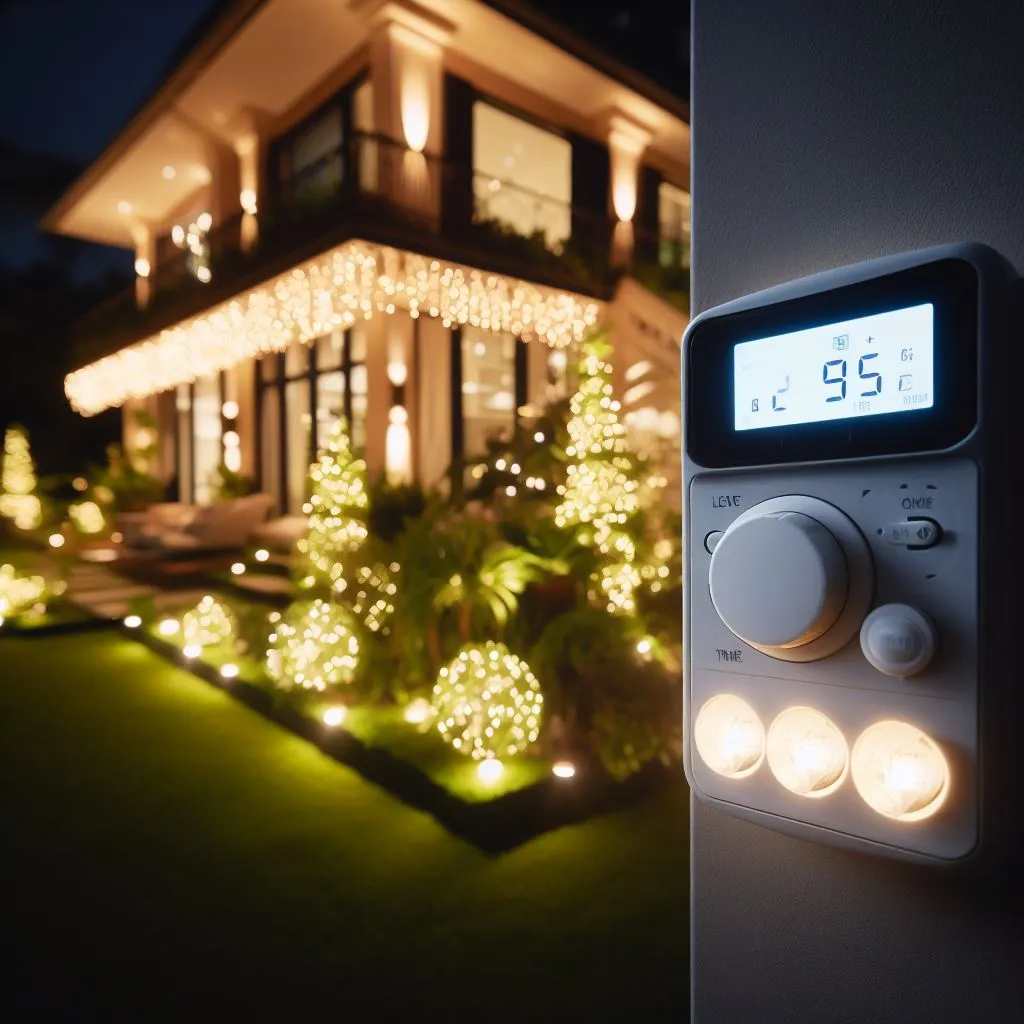
Many people purchase a timer with built-in photocells that detect light levels to adjust when the lights go on to save energy and time. This is a great feature to look for if you’d like your lights to automatically turn on or off depending on the amount of light outside.
Additionally, some timers allow multiple settings to customize when the lights turn on or off each day. Finally, ensure the timer is connected correctly and securely before testing it.
Advantages of Digital vs Analog Lighting Timers
Having a suitable timer makes all the difference in landscape lighting. You can use two main types of timers: digital and analogue. Each one has its unique advantages.
Digital Timers
- Digital timers are more accurate and energy-efficient than analogue timers.
- They have built-in features that allow for precise programming of lights, such as setting different times for specific days or manually adjusting the time for lights to come on or go off.
- Digital timers also allow you to create custom schedules for your landscape lighting.
- You can also override settings, which is helpful if you need to make changes without starting from scratch.
Analog Timers
- Analogue timers are easy to set up and manage.
- They are an excellent option for those who want an affordable, low-maintenance way to control their lighting.
- The manual operation of an analogue timer can be beneficial in power outages since they do not require electricity to operate.
- Analogue timers may require manual adjustment throughout the year to keep up with seasonal changes.
Choosing between a digital and an analogue timer depends on your needs and preferences. Keep in mind that both options offer advantages and disadvantages when it comes to landscape lighting.
What to Keep in Mind When Operating a Timer for Outside Lights
When it comes to operating your outdoor lighting timer, there are several factors that you need to keep in mind. Ensure you set the timer to the correct settings for your particular needs. If you’re using multiple lights, check and ensure all the timers are set correctly.
You should also make sure that your timer is plugged into a ground fault circuit interrupter (GFCI) outlet so that you can prevent any electrical shock if the timer malfunctions.
Additionally, check and see what bulbs you have installed on your lights. Many outdoor lighting timers require specific types of bulbs, such as LED or CFL, to work correctly.
If you’re using incandescent bulbs, something else might be causing your timer to malfunction. So, ensure your bulbs are compatible with your timer before you use it.
Finally, many landscape lighting timers will require you to change the batteries in them from time to time. This is important so that your timer remains operational and functions appropriately.
Ensure you read the manufacturer’s instructions when changing the batteries and follow their directions closely.
Maintaining & Replacing Landscape Lighting Timers
Proper maintenance and replacement of landscape lighting timers are essential for your outdoor lights to stay lit and functioning. The timer is an integral part of the overall system, and when it breaks down, the entire system can go offline.
It is essential to understand the signs of a malfunctioning landscape lighting timer and be able to replace one if necessary.
Inspect your landscape lighting timer periodically to ensure everything is in working order. It should remain securely fixed in place and show no signs of wear and tear.
Ensure the wiring is in good condition and all connections are secure. Dirt and dust can interfere with the timer’s functioning, so you should clean the timer regularly.
If you notice any damage or malfunction, it may be time to replace the timer. To know what kind of timer you’ll need, look at the specifications of your lighting system.
Then, find a compatible timer that can meet the requirements. Installing a new timer may require some basic electrical skills.
Finally, after installation, check to see if the timer is working by trying a few test runs. Once the timer is operational, enjoy your outdoor lights in all their glory.
Conclusion: Using the Right Timer Makes a Difference with Landscape Lighting
Setting up a suitable timer for your outdoor lighting system is essential to ensure you get the most out of your lighting. A timer can reduce energy costs, enhance security around your home, and provide added convenience. Different types of timers allow you to customize the amount of time your lights are on and when they should turn off.
There are several factors to consider when considering a timer for your landscape lighting. Consider the type of lighting system you have, the power requirements, and the features that would benefit your needs. It is also essential to maintain and replace the timer when necessary.
A suitable timer makes all the difference when setting up your perfect landscape lighting system. Choosing a convenient timer for your situation will help ensure your lighting system operates efficiently, safely, and conveniently.


1 thought on “Time to Shine: How to Set Landscape Lighting Timers”